Starting late last year I decided that I wanted to change the Standalone that I was running. I had been running an Electromotive set-up for the better part of a decade, but it had some nuances that I hadn't been fond of so I made the decision to change to a newer one.
The decision on what manufacturer you want carries a lot of variable with it. I had looked into Microsquirt as a friend did that for his 16v turbo build, but wasn't overly happy with some aspects of it. A good friend of mine ended up recommending a Link ECU, and after looking at the various models that they had, I settled on the Link Monsoon-X. It fit what I wanted from a capability vs. cost standpoint, and it also had an integrated MAP sensor, which meant one less thing in the engine bay!
One of the main points of this thread will be to share what components I chose, where I bought my components, where I bought the tools to make the harness, as well as where I bought harness supplies. I don't intend this to be a step by step guide on how to build a harness, but anyone is more than welcome to PM me if they have questions on what I did or why. The typical disclaimer of "I'm not an expert, just an enthusiast" applies to everything here!
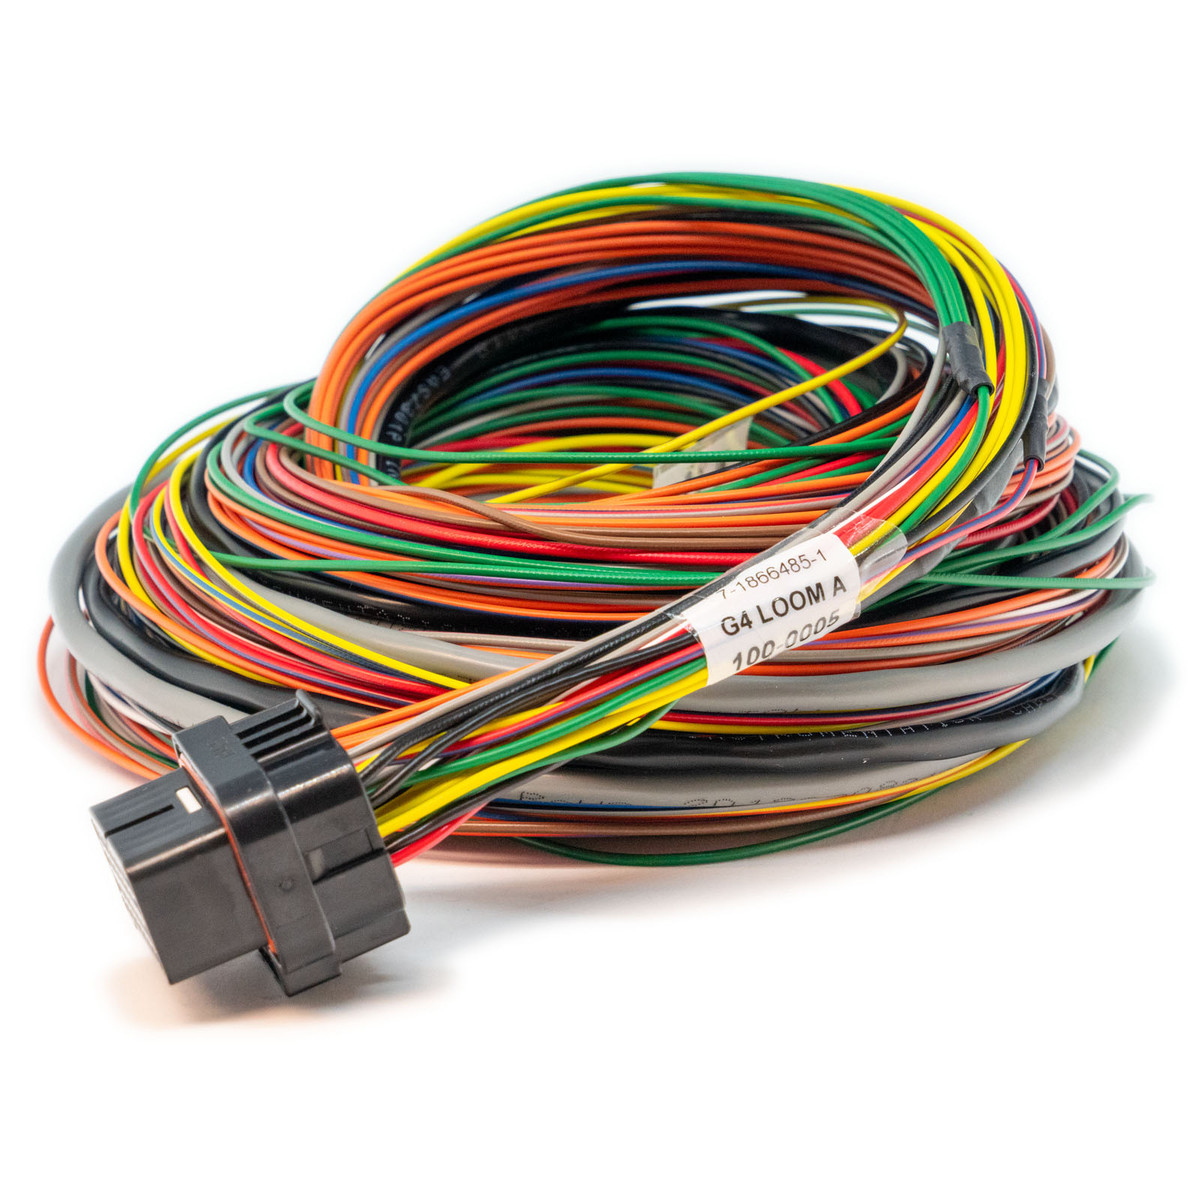
One really nice thing about Link was that you could purchase premade looms in various lengths depending on your need. Their ECUs require either a single A-loom or an A and B loom depending on capability. The Monsoon-X only need the A-loom so I began with a 2.5m A-loom harness.
Now I had to sit down and start figuring out what sensors/components I needed, as I wasn't going to use anything from the previous standalone install. I'll share a link to individual components if anyone wants to check them out for themselves.
- Coils - GM D585s https://www.bmotorsports.com/shop/produ ... cr0lvicbi5
- Coil Pack mount - https://www.summitracing.com/parts/icb- ... K0QAvD_BwE
- Injectors - Siemens Deka 80lb/hr https://www.bmotorsports.com/shop/produ ... cr0lvicbi5
- IAT sensor - Standard GM https://www.bmotorsports.com/shop/produ ... cr0lvicbi5
- Crank Position Sensor - Cherry Hall https://www.diyautotune.com/product/cra ... aded-body/
- Crank sensor mount - 944 Enhancement
- Cam Sensor - Bosch VW/Audi sensor (off the 1.8Ts and V6s) https://shop.advanceautoparts.com/p/bos ... edium=ymme
- Cam Sensor reluctor - VW/Audi
- Cam sensor mount - 944 Enhancement
- TPS adapter - Rabbit Wiring Solutions (not sure if he's making them anymore, though)
- Boost Control Solenoid - 3-port MAC Valve https://www.amazon.com/MAC-35A-AAA-DDBA ... NrPXRydWU=
When it came to building the harness, supplies became a little harder to source. My main goal was to stick with components as close to factory quality as I could, relying heavily on Bosch connectors/boots as well as Deutsch DT connectors.
- https://prowireusa.com/ - Great for Tefzel or TXL wire, shrink tube, as well as Bosch connectors, Bosch boots, and Deutsch connector kits.
- https://www.corsa-technic.com/ - Another great source for connectors, as well as specific size ring terminals and other pins.
- https://4rcustomswire.com/ - This company is a great source for TXL wire in any color combination that you want/need. I relied heavily on them for the additional wire runs that I put into my harness so that I could keep sensor wires matched to what the factory had originally chosen. They even sell in lengths as short as 5'.
- https://www.kingsbornewires.com/ - Where I bought my supplies to convert Bosch spark plug wires to work with GM coils.
Materials aside, you won't really be able to build a good harness without the proper tools. Here are a few examples of what I needed to get in order to properly terminate my harness:
- Deutsch Terminal Crimper - https://prowireusa.com/18890-deutsch-si ... -tool.html
- Ratcheting Crimper w/ dies - https://prowireusa.com/p-1990-quick-cha ... -sets.html
- Spark plug wire crimper - https://www.jegs.com/i/JEGS/555/80570/1 ... WoQAvD_BwE
- Wire stripper - https://prowireusa.com/p-2026-ideal-str ... 10-ga.html
- Heat gun - https://www.lowes.com/pd/CRAFTSMAN-5100 ... 1000896128 You can also use a torch if you prefer, I just found a cheap one and it worked perfectly.
- Wire - TXL, 18 and 20 AWG
- Harness covering - Raychem DR-25 2:1 shrink tubing (1", 3/4", 1/2", 3/8", 1/4", and 3/16")
- Branch sealing - Raychem SCL 3:1 and ATUM 4:1 adhesive lined shrink tubing in various sizes.
- Harness labeling - A friend let me borrow his shrink tube printer so that I could label individual runs. I don't know how much these cost, and if it would be cost effective for someone building a single harness, but it really makes the final product look great.
https://rbracing-rsr.com/wiring_ecu.html - Anyone attempting to build a harness really should sit down and read what is on this website. A great source of knowledge from people who build motorsports quality harnesses. I referenced it quite a lot as I worked my way through my harness!
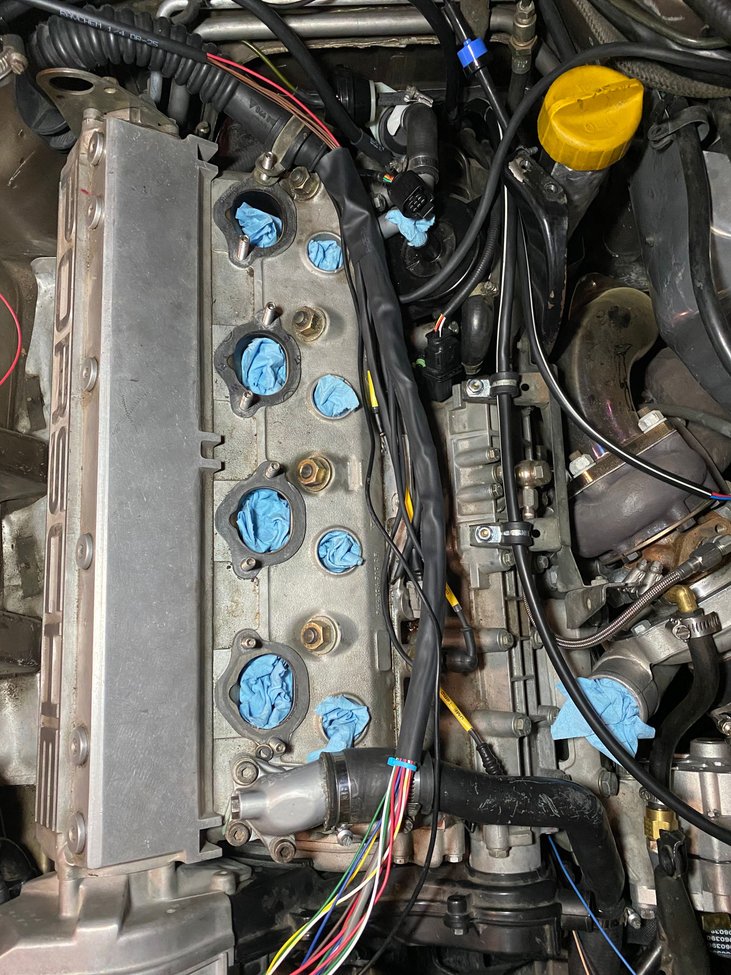
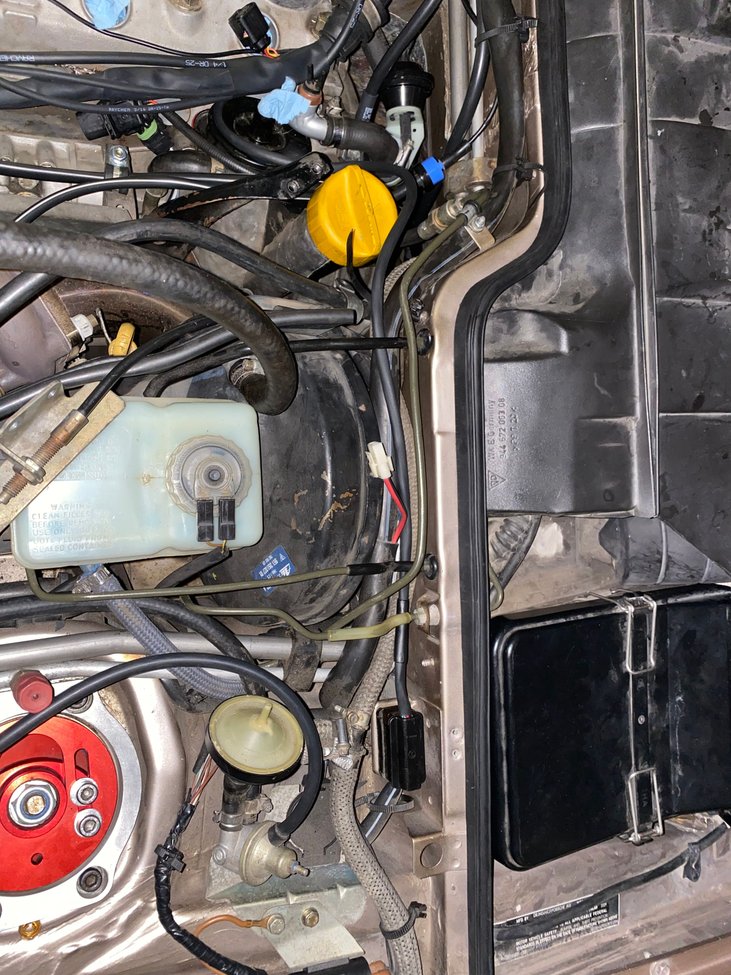
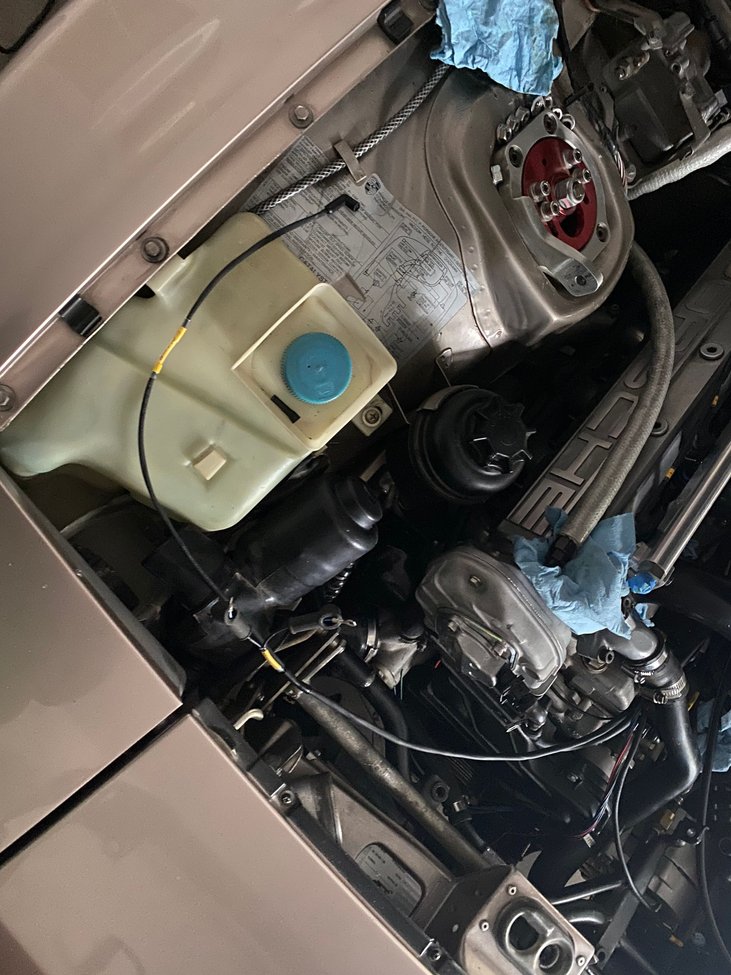
The first obvious step was to get the old harness out so that I could begin laying in the new one.
- harness removed.jpg (89.45 KiB) Viewed 1726 times
- running branches.jpg (86.04 KiB) Viewed 1726 times
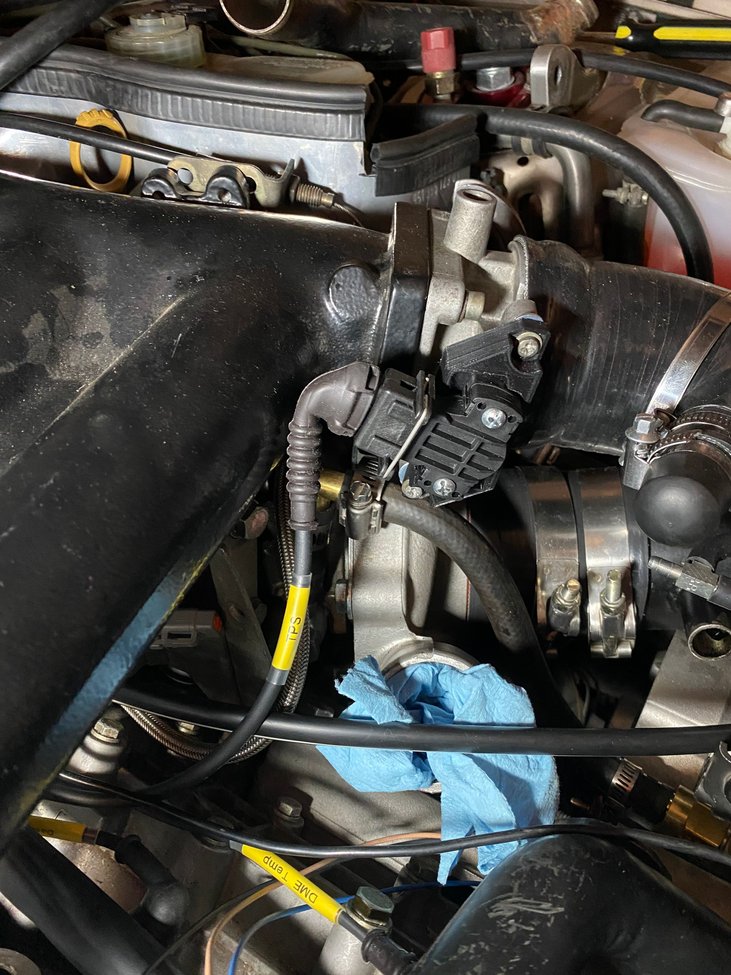

- labels.jpg (66.19 KiB) Viewed 1726 times
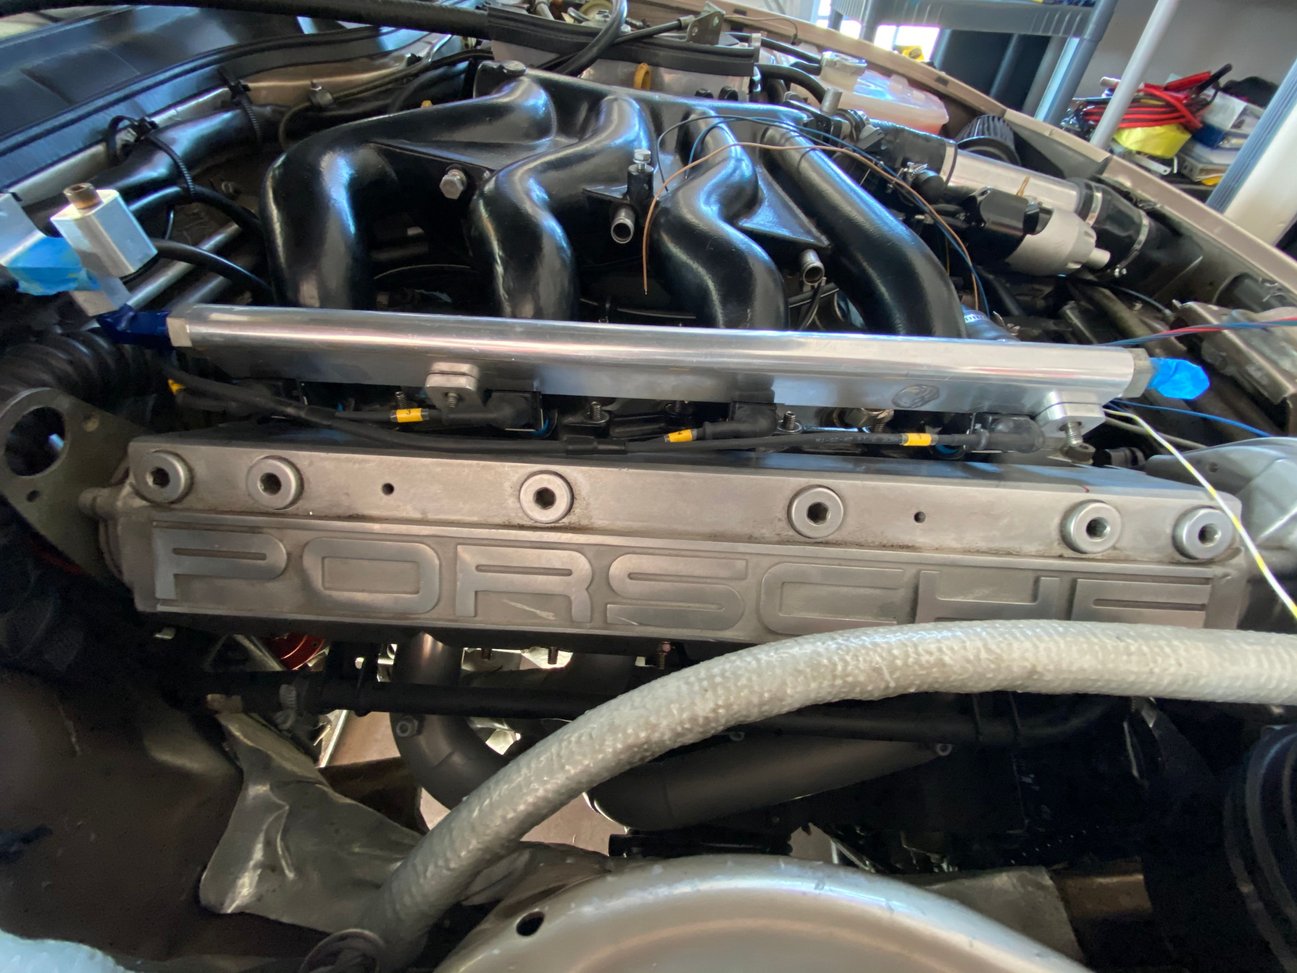
- almost done.jpg (55.15 KiB) Viewed 1726 times
- getting close.jpg (83.13 KiB) Viewed 1726 times
- end result.jpg (52.18 KiB) Viewed 1726 times
When it came time to figure out coil pack mounting, I had to get creative. My old set-up used a custom made coil pack mount that was supplied by @chris white. I decided to tackle this myself this time, as I was beginning to learn sheet metal fabrication at school. With a little help from an extra coolant crossover, I fabricated a mount out of some sheet .090 and .040 2024-T3 aluminum. I think it turned out really nice! I gave it a final coat of satin black as well as a quick disconnect from the main harness so that the coils could be removed as a sub-assembly rather than having to disconnect all 4 individually.
- coil mount 1.jpg (52.96 KiB) Viewed 1726 times
- coil mount 2.jpg (42.16 KiB) Viewed 1726 times
The link software has been incredibly easy to work in, and with some help, I'm hoping to have it back to 100% quickly! (If I can find the time outside of family and school!)